Today I have a random assortment of makeup, hair and skin products I’ve been using and lovely lately. There is no rhyme or reason to this mix of products – some I’ve purchased myself and some are samples from Birchbox. There are few things I love more than beauty products AND receiving packages in the mail so Birchbox has been very up my alley and a great introduction to brands and products I might have never tried. So, let’s get to it:
Eyes
Two Faced Better Than Sex Mascara


Photo Credit: samanthalalaa.wordpress.com, amazon.com
The name is certainly…memorable, and it should be, because this mascara is excellent (and I have tried an embarrassing number of mascaras). While it is great, it can be a bit tricky to work with and quickly turn clumpy. Go slowly when applying and keep an eye on (pun, sorry) how your lashes are progressing and you’ll be just fine. This mascara will give you long, full lashes that border on looking like falsies. If that’s your thing, I highly recommend picking up a sample size at Ulta to see if you like it because it can be pricey. I’m always looking out for you.

Photo Credit: birchbox.com
I received this liner in a Birchbox and at first glance I thought it would be hard to work with, but it is surprisingly easy to use. Well, as easy as applying liquid eyeliner can be. Another huge plus is the color payoff – very black, very matte and long-wearing. I had typically used brush and/or long, fine tipped liners but Eyeko has convinced me that the marker shape is by far the easiest to use and it will be my go-to from here on out.
Kat Von D Shade & Light Eye Contour Palette
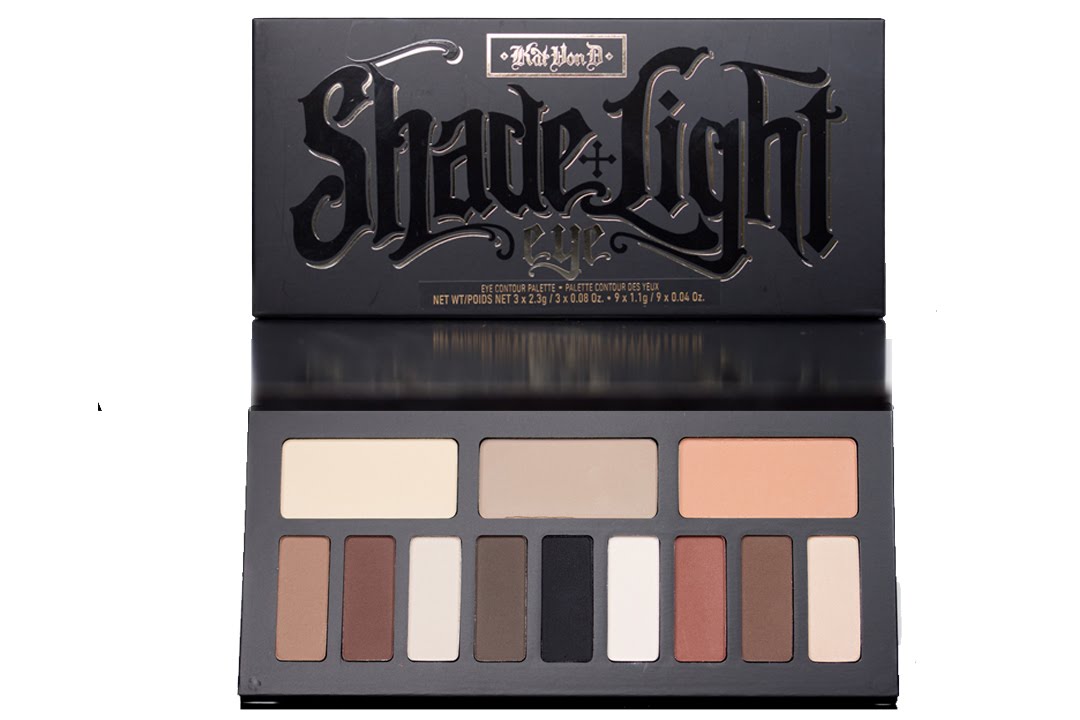
Some day you might turn on Hoarders and see me, surrounded by mountains of eyeshadow palettes instead of garbage and cats, with my finger hovering over the “Add to Cart” button on Sephora. What I mean is – I have no self control and bought yet another eye shadow palette. The first step is admitting it.
But in my defense, I did my research and bought the absolute best and most useful palette I could find. Shade & Light has all matte shadows, warm and cool toned neutral colors, with fantastic pigmentation and blendability. This palette is perfect for everyday looks, smokey eyes, mature/hooded eyes….really anyone with eyes.
Here are a few of my favorite Shade & Light tutorials I’ve tried out and loved:
Lips
POP Beauty Matte Velvet Lipstix in Satin Rose

Photo Credit: popbeauty.com
Another gift from the Birchbox gods, this is a great everyday soft pink lipstick. This color looks good with everything and I imagine every skin tone. The formula isn’t too sticky or too glossy and it has pretty great staying power. Satin Rose is definitely my favorite new “my lips but better” product.
Hair

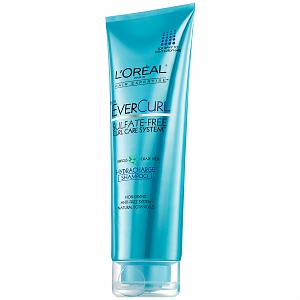
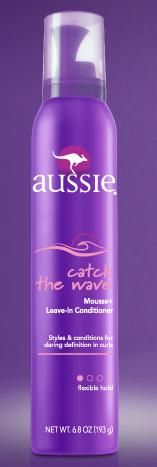
Photo Credit: amazon.com
My hair is naturally curly and very fine. I also bleach and dye my hair monthly to be blonde which leads to the perfect storm of damage and overall terribleness. Thankfully, there are a ton of products out there to make hair like mine more manageable. One of my new favorites is the Redken All Soft conditioner.
Redken products are a bit more expensive than my regular drugstore staples so to stretch it and make my money last, I mix a small amount of this conditioner with the Aussie 3 Minute Miracle Deep Conditioner. Leaving that combination on for 5-10 minutes a couple times a week makes a huge difference in the softness of my poor abused hair.
Skin
Soap & Paper Factory Green Tea & Shea Hand Cream

Photo Credit: theoliviashop.com
This stuff smells AMAZING and the older I get, the more I seem to get into hand creams. It’s the circle of life.
All hand creams basically do the same thing, hydrate your skin, so really the only reason this cream is so great is the heavenly smell (and the cute packaging).
What products are you loving? Let me know!


 Look 2: Carolina Panthers