As I type this post, I see that my lovely little corner of the world is expecting 4-7 inches of snow this weekend. Combine that with the fact that the sun now goes down at 4:30pm and I’m in dire need of a dose of summer. Enter one of my most treasured beauty rituals: Self-Tanning.
A golden tan can give you a healthy glow and, let’s be real, the whole “If you can’t tone it, tan it!” sentiment is very true. A good tan helps you look and feel better. Thankfully, self-tanning products have come a LONG way in the past few years, and when these products are combined with a solid pre and post application routine, you can be tan and glowing every day of the year – all without being exposed to damaging UV rays.
Here is my self-tanning routine and favorite products for face and body:

Here’s my tan, disembodied arm
Pre-Tan Application
I typically do my self-tanning routine at night so when I wake up in the morning my tan has darkened and I’m good to go.
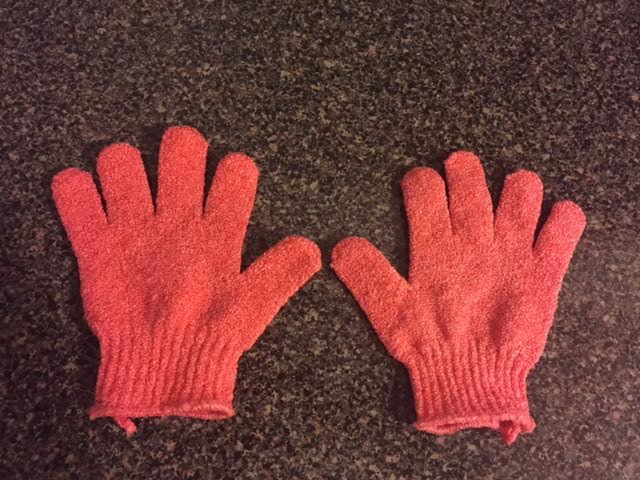
The number one key to a streak-free, long-lasting, even tan is to exfoliate pre-application. You can shell out money for fancy body scrubs that smell like angel kisses and will take off your top layer of skin, or you can do what I do and buy cheap exfoliating shower gloves at the drugstore:

Hop in the shower, squeeze some body wash on these bad boys and scrub your whole body down – especially focus on knees, elbows and ankles as self-tanning products tend to really stick to those areas and can make them develop darker than the rest of your tan.

Don’t forget to also exfoliate your face! My favorite product that I’ve talked about before are the Skin Obsession Microdermabrasion Crystals mixed with whatever cleanser I have in the shower.
Tan Application
Now that you’ve exfoliated the top layer of your skin off (gross but yay!) and you’re out of the shower, it’s time to dry off completely and apply the tan. I know that your skin is all dry and itchy feeling and you want to dip your entire body in lotion but WAIT, we’ll get there.
If you’re using a mouse or a spray, grab some old/dark-colored towels to lay down on the floor to prevent any stains. And if you live alone like me or have the house to yourself for an hour, I highly suggest applying your tan in another, cooler temperature room – your bathroom is a humid, hot place after you’ve showered and that environment can double the time it takes your tan to dry. So if you have the option, spread out some towels in the living room and let’s get down to business:
- Grab your self-tanner of choice. Lately I’ve been using a new favorite: Jergen’s Natural Glow Instant Sunless Tanning Mousse in Dark.

I’ve tried quite a few self-tanning products, from very expensive to drugstore, and I can’t recommend this Jergen’s mousse enough. It’s inexpensive ($10), has a pleasant smell, and gives me natural-looking color that lasts a good 3-5 days.
- Use gloves and/or a mitt to keep your hands from getting horrifically stained. Apply a few pumps to your mitt, smooth it all over one body part at a time and keep working. I start at my feet and work upwards but it’s your world, start wherever you want.

- Once you’ve applied the tan all over your body, you may want to use a product specifically made for self-tanning the face. I’ve found in the past that the body tanners do give me great color on my face but they break me out horribly, and tan pimples suck just as much as pale ones.
Instead, I mix a bit of Olay daily moisturizer with a small amount of Tarte’s Maracuja Face and Body Self Tanner and apply all over my face. Done.

Post-Tan Application
The hard part is over! Now just chill out for a few minutes (Naked! Scandalous!) to let your tan dry. Once you feel sufficiently dry (10-20 minutes), it’s time to add moisture back into the skin. I cover myself top to bottom in my favorite lotion of all time – Vaseline Cocoa Radiant.

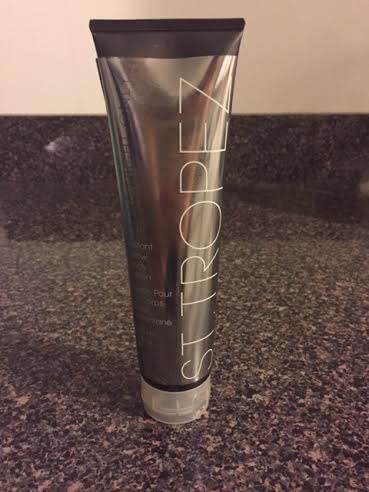
Applying lotion every day will help keep your skin soft and extend the longevity of your tan. If you want to give your tan an extra boost when it starts to fade several days later, I highly recommend the St. Tropez One Night Only Instant Body Glow Lotion

This lotion is pricey but it’s great for giving your tan some extra color, or you if you don’t feel like going through the whole self-tan process described above, apply this for a tan that washes off in your next shower.
And that’s it! Happy Bronzing!
Loved this, great recommendations and detail 🙂
LikeLike